Photographing classic cars for listings is the practice of capturing high-quality images that accurately showcase a vehicle's condition, character, and value to attract serious buyers online. Great photos do more than look nice. They directly affect how much a buyer offers and how fast the car sells. Listings with 11 or more photos earn 205% more views and 185% more leads than listings with fewer images. That single fact should change how you approach every shoot. Whether you are a private seller or a professional photographer, this guide gives you the exact techniques, angles, and preparation steps to get it right.
What are the essential angles for classic car listings?
Twelve essential angles are the current industry standard for high-performing vehicle listings. Missing even one of them reduces inquiry rates. For classic cars, the stakes are higher because buyers cannot inspect the car in person before forming an opinion.
| Angle | Purpose |
|---|---|
| Front three-quarter (driver side) | Shows front fascia, hood line, and overall stance |
| Front three-quarter (passenger side) | Confirms panel symmetry and paint match |
| Driver side profile | Reveals roofline, body gaps, and wheel fitment |
| Passenger side profile | Proves consistent panel fit across both sides |
| Rear three-quarter (driver side) | Shows tail design, exhaust, and rear stance |
| Rear three-quarter (passenger side) | Confirms rear symmetry and bumper condition |
| Straight-on front | Documents grille, headlights, and bumper condition |
| Straight-on rear | Shows taillights, badging, and trunk alignment |
| Dashboard and instrument cluster | Builds confidence in interior condition and originality |
| Front and rear seat interiors | Shows upholstery wear, headliner, and carpet condition |
| Engine bay | Proves mechanical condition and restoration quality |
| Odometer reading | Confirms mileage claim and supports valuation |
Serious collectors expect coverage beyond these twelve shots. Photographing both driver and passenger sides symmetrically proves panel fit and prevents buyers from assuming the worst about hidden damage. Add close-ups of the door jambs, trunk floor, undercarriage, and any known flaws. Transparency here builds trust faster than any sales description can.
How to manage lighting for classic car photography
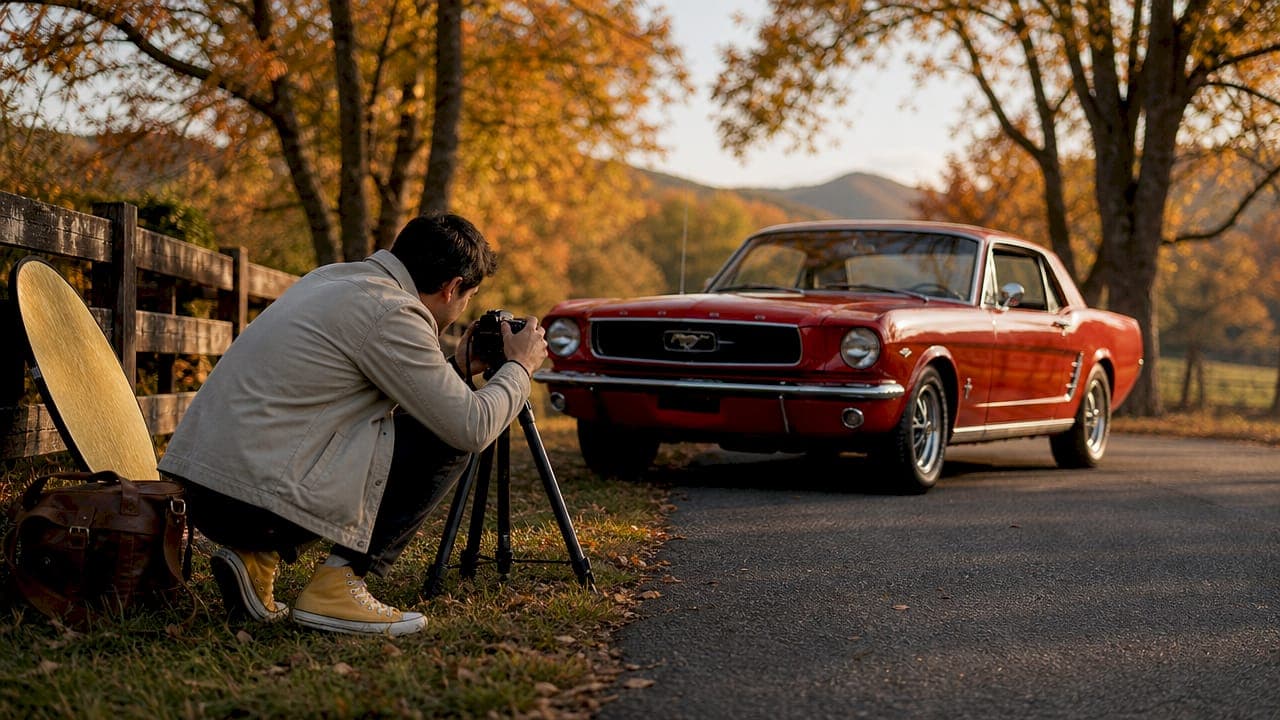
Lighting matters more for classic cars than for modern vehicles. Chrome trim, two-tone paint, and polished bodywork reflect everything around them. A harsh light source turns a beautiful 1967 Mustang into a mirror for power lines and parked trucks.
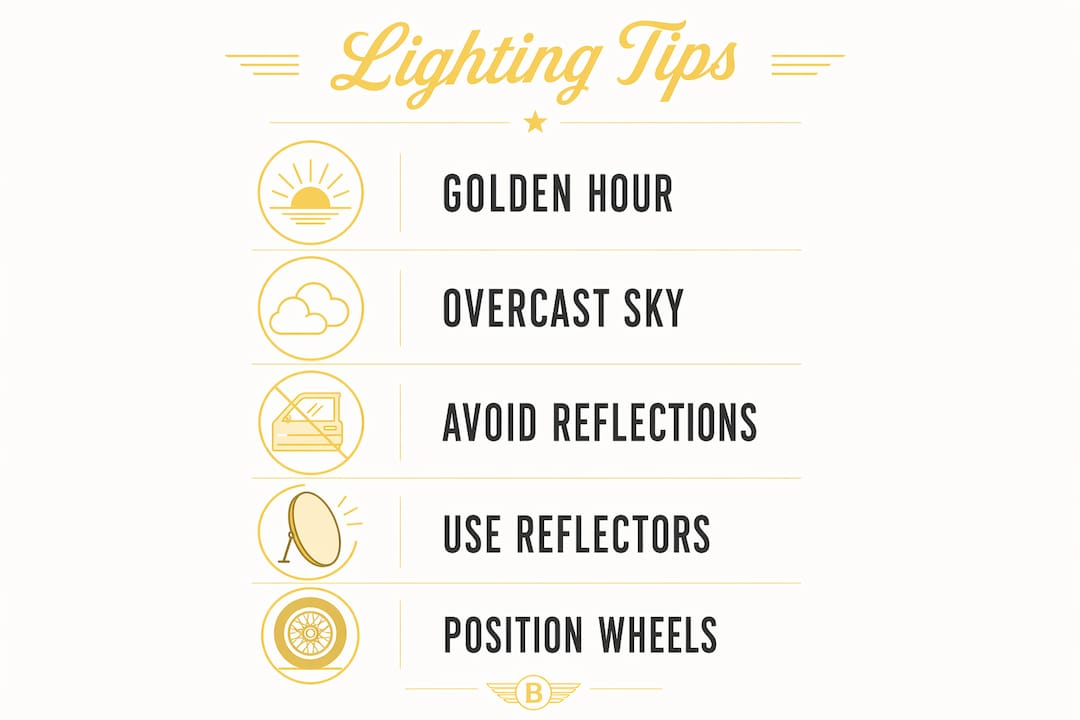
Golden hour and overcast conditions are the best times to shoot. Golden hour, the 30–60 minutes after sunrise or before sunset, wraps the car in warm, directional light that flatters curves and adds depth. Overcast skies act like a giant softbox, eliminating harsh shadows and reducing reflections on chrome. Midday sun creates blown-out highlights and deep shadows that hide the very details buyers want to see.
Here are the key lighting and environment rules to follow:
- Avoid direct midday sun. Shoot before 10:00 AM or after 4:00 PM to keep light soft and manageable.
- Use a circular polarizing filter. It cuts glare on chrome, glass, and painted surfaces without affecting the car's color.
- Choose a background that matches the car's era. Rural roads and retro settings outperform generic parking lots for classic car listings.
- Keep backgrounds clean and uncluttered. A busy background pulls the eye away from the car.
- Shoot away from other vehicles, signage, and trash cans. These details undermine the car's perceived value.
Pro Tip: Turn the front wheels slightly toward the camera and position the car at least 10 feet from any wall or fence. This creates depth between the car and the background, making the image feel dynamic rather than flat.
What equipment and preparation steps produce the best results?
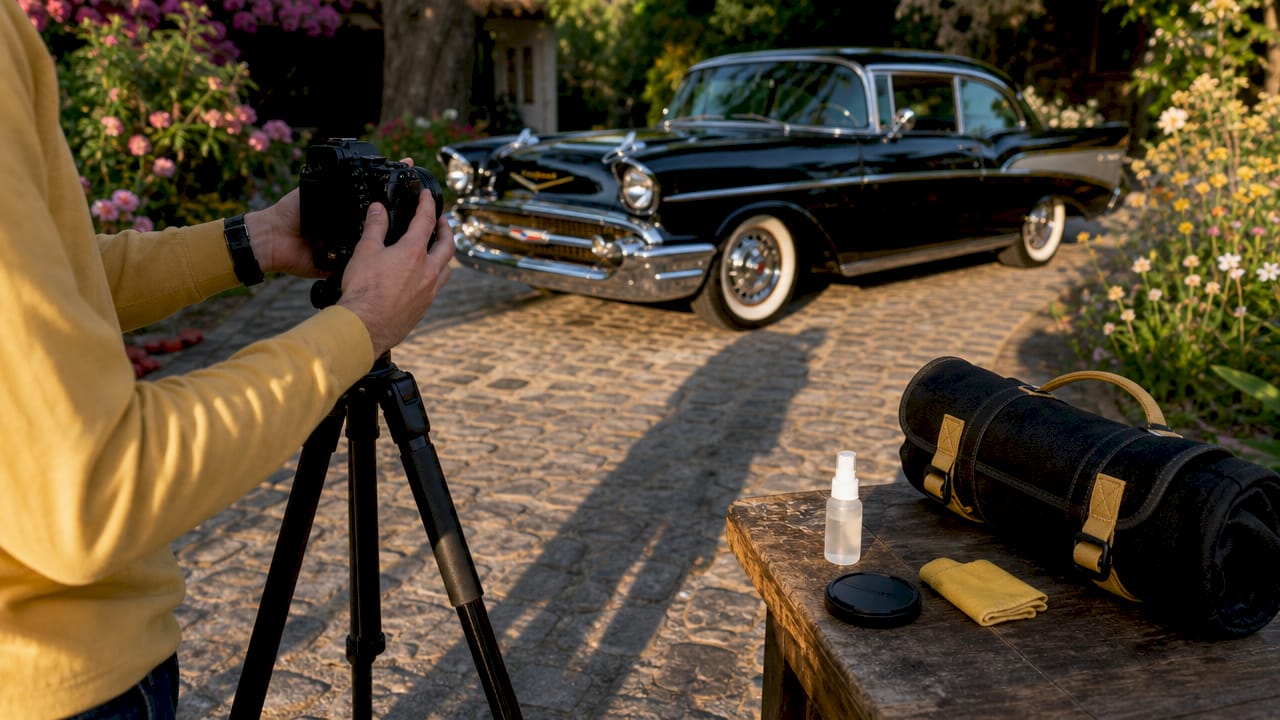
The right gear makes a real difference, but preparation matters just as much. A dirty car photographed with a professional camera still looks like a dirty car.
Professional car photography uses manual settings of f/8 to f/11 aperture, ISO 100, and a tripod for sharpness across the full body. These settings keep the entire car in focus and eliminate motion blur. Shooting in RAW format preserves detail in highlights and shadows, giving you more flexibility when editing. A DSLR or mirrorless camera with a 24–70mm lens covers most angles cleanly.
Smartphone cameras work well for vehicles priced under $15,000. For cars priced above $20,000, professional photography costing $200–$400 leads to faster sales and stronger offers. The math is simple. A $300 photo session on a $40,000 muscle car is a worthwhile investment.
Preparation checklist before you shoot:
- Wash and detail the car thoroughly. Clean paint, glass, and wheels are non-negotiable.
- Remove personal items from the interior. Floor mats, air fresheners, and sunglasses distract buyers.
- Check tire pressure and stance. A flat tire or uneven stance reads as neglect.
- Open the hood and trunk for dedicated shots. Buyers expect to see inside.
- Stage the car in the chosen location before setting up your camera. Moving the car after you start wastes time and changes your light.
Pro Tip: Organize your maintenance photos chronologically. High-end listings often include 80–150 images, with service records arranged in date order to prove the car's history. This approach reduces buyer skepticism before they even ask a question.
What common mistakes hurt classic car listing photos?
Most listing photos fail for the same predictable reasons. Knowing these mistakes in advance saves you a reshoot.
- Rushing the shoot. Good classic car photography takes 2–3 hours minimum. Buyers notice when angles are inconsistent or lighting changes mid-set.
- Skipping the trust areas. Incomplete photo sets make buyers assume hidden problems. Always photograph the engine bay, door jambs, trunk floor, and undercarriage.
- Using a cluttered or inappropriate background. A 1969 Camaro in front of a strip mall loses half its appeal before the buyer reads a single word.
- Ignoring known flaws. Photographing a scratch or dent honestly builds credibility. Hiding it guarantees a price negotiation or a canceled deal.
- Inconsistent photo sets. Shooting the driver side in morning light and the passenger side in afternoon sun creates mismatched colors that confuse buyers about the car's actual paint condition.
- Overexposing or underexposing key details. Blown-out white paint hides body lines. Dark engine bay shots hide the very condition buyers are paying for.
Each of these mistakes costs you money. Buyers form impressions of vehicle value within seconds, and good photos reduce skepticism and negotiation friction before the first conversation starts.
How many photos should a classic car listing include?
More photos consistently produce better outcomes. Adding custom photos increases VDP views by 349% compared to using a single stock photo. That number reflects how much buyers rely on images to make decisions about high-value purchases.
A solid listing for a classic car starts at 20–30 photos. That covers the 12 essential angles plus close-ups of key details, known flaws, and the engine bay. For investment-grade collector cars, professional listings often contain 80–150 photos, including thorough service record documentation arranged chronologically. More photos reduce the number of questions buyers ask. Fewer questions mean faster decisions and less negotiation friction.
The quality of each photo still matters. A consistent photo style across a listing signals professionalism and enhances seller credibility on crowded platforms. Think of your photo set as a story. Each image answers a question the buyer has not asked yet. When you answer all their questions before they ask, you remove every reason to hesitate. For sellers evaluating investment-grade classic cars, comprehensive photo documentation is as important as the vehicle's title history.
Key Takeaways
Strong classic car listing photos require the right angles, controlled lighting, thorough preparation, and enough images to answer every buyer question before they ask it.
| Point | Details |
|---|---|
| Cover all 12 essential angles | Missing standard angles reduces inquiry rates and signals incomplete disclosure to buyers. |
| Shoot in golden hour or overcast light | Soft, directional light eliminates harsh reflections on chrome and paint. |
| More photos mean more leads | Listings with 11 or more photos earn 205% more views than those with fewer images. |
| Show flaws honestly | Close-ups of known defects build trust and reduce negotiation friction at closing. |
| Prepare the car before the camera | A clean, staged vehicle photographed with consistent settings produces professional results every time. |
What I've learned after years of watching listings win and lose on photos alone
Most sellers underestimate how much a photo set communicates beyond the car itself. A buyer looking at a 1970 Chevelle does not just see the car. They see how much the seller cares. A rushed, poorly lit set of eight photos tells them the seller does not value the car. A thorough, well-organized set of 60 images tells them the opposite.
The single biggest mistake I see is treating the engine bay as an afterthought. Sellers spend an hour detailing the exterior and then snap one blurry shot of the engine with a phone flashlight. That one photo can kill a deal. A clean, well-lit engine bay shot is worth more than any written description of mechanical condition.
Location choices matter more than most people realize, too. I have seen the same car photograph beautifully on a quiet country road and look completely forgettable in a driveway. The background is part of the story. A pre-war roadster belongs on a tree-lined lane. A 1970s muscle car belongs on an open stretch of asphalt. Matching the setting to the car's character is not a styling trick. It is how you help the right buyer picture themselves in the seat.
Transparency is the other thing I keep coming back to. Photographing a small rust spot or a door ding honestly does not hurt your sale. It protects it. Buyers who discover undisclosed flaws in person walk away angry. Buyers who see them in photos arrive prepared. That difference shows up in the final price and in how smoothly the deal closes. For sellers who want to understand how condition affects value before they even pick up a camera, the vintage car condition guide from Butterclassics is a solid starting point.
— Tony
How Butterclassics helps sellers get listings right
At Butterclassics, we know that a great listing starts long before the first offer comes in. Every vehicle in our inventory goes through a professional photography and documentation process designed to show buyers exactly what they are getting.
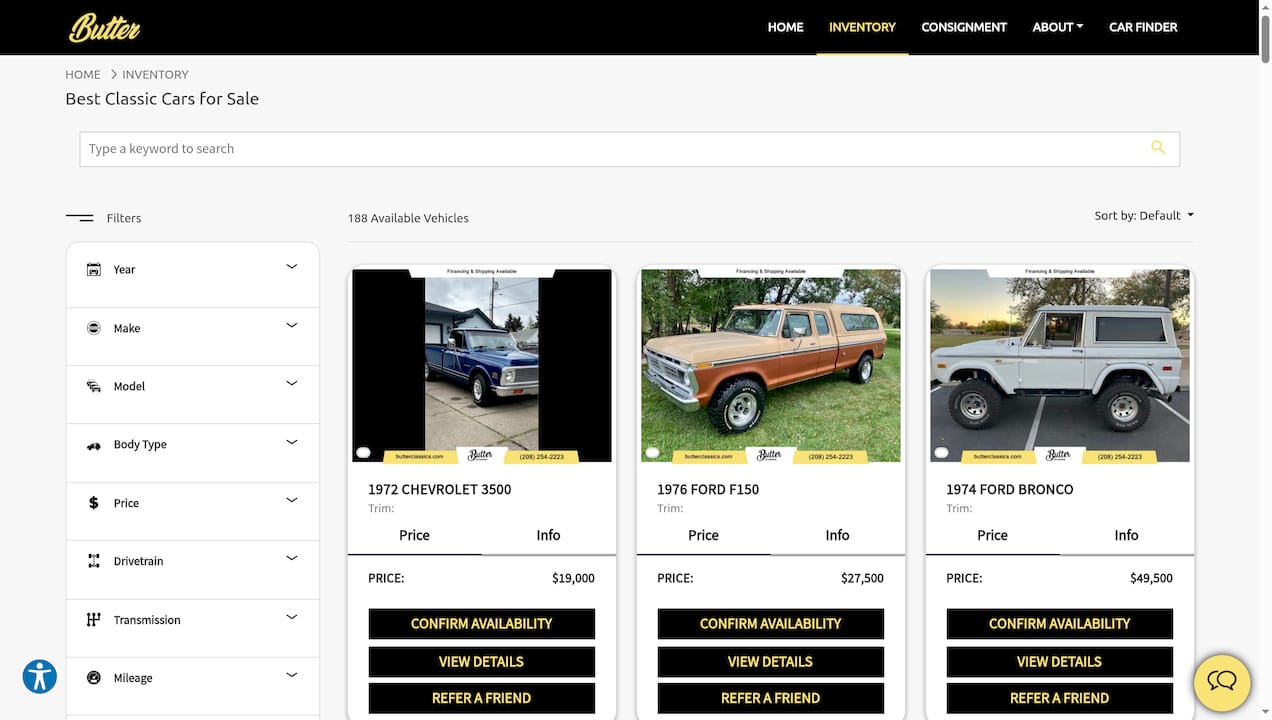
Our Butter Certified process covers thorough photo coverage, condition documentation, and listing presentation that gives your classic car the best possible shot at attracting serious buyers. Whether you are consigning a prized muscle car or a rare vintage truck, we handle the details so you do not have to. Browse our current classic car inventory to see what a top-quality listing looks like in practice.
FAQ
What are the best angles for a classic car listing?
The 12 essential angles include front and rear three-quarter views from both sides, straight-on front and rear shots, interior and dashboard photos, the engine bay, and the odometer. Missing any of these reduces buyer confidence and inquiry rates.
What is the best lighting for photographing cars for sale?
Golden hour and overcast conditions produce the best results. Both eliminate harsh shadows and reduce reflections on chrome and paint, which are the two biggest challenges in classic car photography.
How many photos should a classic car listing have?
A minimum of 20–30 photos covers the basics for most listings. High-end collector cars benefit from 80–150 images, including service records organized chronologically to document maintenance history.
Should I photograph known defects in my listing?
Yes. Close-up photos of scratches, rust, or worn upholstery build buyer trust and reduce negotiation friction at closing. Buyers who discover undisclosed flaws in person are far more likely to walk away or demand a steep discount.
When is professional photography worth the cost for a car listing?
Professional automotive photography, typically priced at $200–$400, is worth the investment for vehicles priced above $20,000. For cars under $15,000, a modern smartphone with good lighting and thorough preparation produces strong results.