
A classic car test drive checklist is the single most important tool you can bring to any vintage vehicle evaluation. Skipping a structured inspection before purchase means you risk missing hidden rust, mismatched VINs, failing transmissions, and heat soak problems that only show up under real driving conditions. Experts recommend a 30–60 minute test drive covering both city and highway speeds to surface vibrations, temperature instability, and steering inconsistencies. This guide walks you through every critical check, from exterior authenticity to on-road diagnostics, so you can evaluate any classic with confidence.
1. What key exterior and authenticity checks should you perform?
The first step in any used classic car checklist is confirming the car is exactly what the seller claims it to be. Start with the VIN. Mismatched VINs suggest theft, major accident history, or counterfeit documentation. Note that standardized 17-digit VINs only became mandatory for 1981 and later U.S. vehicles. Pre-1981 formats vary by manufacturer, so cross-reference the number against factory records or a marque-specific registry.
Body panel alignment tells you a lot about a car's history. Uneven gaps between doors, fenders, and hoods point to collision repairs or replacement panels. Run your hand along every seam and look for ripples, waves, or color mismatches in the paint.
- Check panel gaps for consistency on all four corners
- Look for paint overspray on rubber trim, glass edges, and door jambs
- Inspect badges, emblems, and trim for correct part numbers and period accuracy
- Tap body panels firmly with your knuckle to listen for the sound
Tapping body panels produces a dull thud rather than a sharp metallic ring when filler or rust repairs are present. That difference is impossible to detect by sight alone. Professional inspectors use paint thickness gauges or magnets to find non-metallic patches. A strong magnet that fails to stick to a body panel confirms the presence of filler underneath.
Looking behind trim and inside panels reveals corrosion and damage that no surface inspection can catch. Pull back carpet edges, check inside door skins, and look at the floor pans from underneath.

Pro Tip: Inspect the exterior in direct natural daylight. Artificial garage lighting hides paint defects, orange peel texture, and color variation between repainted panels.
2. How to evaluate engine, transmission, and mechanical performance
The cold start is the most revealing moment of any test drive for classic cars. A cold engine start exposes hard-start issues, carburetor flooding, and coolant leaks that disappear once the engine warms up. If the seller has already warmed the car before your arrival, ask them to let it cool completely before you begin. A seller who refuses that request is telling you something.
Watch the exhaust from the moment the engine fires. Exhaust smoke color is one of the clearest diagnostic signals available during a test drive. Blue smoke means the engine is burning oil. Black smoke points to an overly rich fuel mixture. Constant white smoke indicates coolant entering the combustion chamber, which is a serious warning.
- Listen for metallic ticking, rattling, or knocking at idle and under load
- Note whether engine noise changes with RPM increases
- Check for smooth clutch engagement without slipping or grabbing in manual cars
- Evaluate automatic transmission for clean, prompt gear changes without flare or delay
Grinding, slipping, or delayed engagement in either manual or automatic transmissions are red flags that signal costly repairs ahead. Smooth shifting and predictable clutch behavior confirm transmission health. Feel for drivetrain vibrations through the floor and seat, especially during acceleration and deceleration.
Pro Tip: Plan a deliberate 5-minute stop midway through the drive. Heat soak can cause a classic to fail restarting after a brief pause, revealing vapor lock or fuel line routing problems that only appear when the engine is hot and sitting still.
3. What to observe about steering, suspension, and braking
Steering feel is one of the clearest indicators of a classic car's overall mechanical condition. Steering that is loose, tight in one direction, or produces unusual noises when turning signals potential safety concerns or expensive repairs. A well-maintained classic should track straight without constant correction. Wandering at highway speed points to worn tie rods, a loose steering box, or alignment problems.
Test the suspension by pressing down firmly on each corner of the car before you drive. The body should rebound once and settle. Multiple bounces indicate worn shocks or struts. Listen for clunking or squeaking during this test, which points to worn bushings or ball joints.
- Feel for vibration or shimmy in the steering wheel at various speeds
- Listen for clunking sounds during turns or over bumps
- Check brake pedal feel for firmness and consistent engagement
- Evaluate stopping power at moderate speeds without pulling to one side
Consistent steering feel and straight-line tracking are non-negotiable during any classic car evaluation. A classic should be noisier than a modern car, but it should never feel unpredictable. Brake pedal pulsation under moderate pressure suggests warped rotors or drums. A soft or spongy pedal points to air in the brake lines or a failing master cylinder.
4. How to use gauges and on-road indicators to verify condition
Dashboard gauges are your real-time diagnostic window during a test drive. Oil pressure dropping at idle is a serious warning sign. A temperature gauge that creeps upward in slow traffic points to cooling system problems, a failing thermostat, or a partially blocked radiator. Watch both gauges continuously from startup through the full drive.
- Note oil pressure at cold start, warm idle, and under load
- Watch the temperature gauge during stop-and-go traffic segments
- Check the ammeter or voltmeter for charging system performance under electrical load
- Observe whether dashboard lights function correctly and extinguish as expected
- Note any warning lights that appear and fail to go out after warm-up
The charging system deserves specific attention. Turn on the headlights, heater blower, and any other electrical accessories while driving. A voltage gauge that drops significantly under that combined load suggests an aging generator or alternator. Many classic cars still run generators rather than alternators, and generator output at low RPM is limited.
Engine behavior once fully warm tells you about fuel and ignition tuning. A well-tuned classic idles cleanly and responds crisply to throttle input. Stumbling, surging, or hesitation under acceleration points to carburetor jetting, ignition timing, or fuel delivery issues. These are fixable problems, but they affect the car's value and your negotiating position.
5. Common mistakes buyers make during classic car test drives
Rushing the test drive is the most expensive mistake a buyer can make. A drive around the block at low speed tells you almost nothing. You need city driving, highway speeds, and that deliberate mid-drive stop to surface the full range of potential problems. Budget at least 30 minutes minimum, and push for the full 60 if the seller allows it.
- Skipping the cold start by accepting a pre-warmed engine
- Ignoring exhaust smoke during the first few minutes of operation
- Failing to tap body panels or use a magnet on suspicious areas
- Overlooking clutch engagement quality and transmission behavior under load
- Missing the heat soak restart test by ending the drive without a stop
Distinguishing mechanical character from genuine problems is a skill that separates experienced buyers from first-timers. A classic car will always be noisier and less refined than a modern vehicle. That is part of its character. The question is whether the noises are consistent and predictable, or whether they change unexpectedly with load, speed, or temperature.
"Mechanical sympathy during driving preserves vehicle integrity and avoids forcing controls beyond original operating quirks." — Top Gear
Never force a stiff shifter, yank a reluctant handbrake, or pump a soft brake pedal repeatedly. Forcing controls beyond their natural resistance masks symptoms and can cause damage. Treat the car gently and let it reveal its condition honestly. For a deeper look at how dealers approach this process, the dealer inspection checklist from Butterclassics covers mechanical sympathy and handling tips in detail.
Pro Tip: Bring a notepad or use your phone to record observations in real time during the drive. Memory fades fast after an exciting test drive, and written notes give you a clear record for negotiation.
6. How to verify authenticity beyond the VIN
VIN verification is the starting point for classic car authentication, not the finish line. Matching numbers cars, meaning vehicles where the engine, transmission, and rear axle still carry their original factory-stamped codes, command significantly higher prices than cars with replacement components. Ask the seller for the broadcast sheet, window sticker, or Protect-O-Plate if applicable. These factory documents confirm original build specifications.
Engine stamp numbers should match the VIN derivative for the model year and plant of manufacture. Each major American manufacturer used a different stamping location and format. For a 1969 Chevrolet Camaro, the partial VIN stamp appears on a pad at the front of the engine block. For a Ford Mustang of the same era, it appears on the door data plate and the engine tag.
Trim and interior authenticity matter just as much as mechanical numbers for collector-grade vehicles. Incorrect seat fabric, wrong steering wheel, or mismatched door panels all reduce a car's authenticity score. Cross-reference the car's color code against factory records. Butterclassics has a detailed guide on classic car color codes that helps buyers verify original paint specifications against what they see in person.
Key takeaways
A thorough classic car test drive checklist covering authenticity, mechanical performance, and on-road diagnostics is the only reliable way to evaluate a vintage vehicle before purchase.
| Point | Details |
|---|---|
| Insist on a cold start | A cold engine reveals hard-start issues and coolant leaks that warm-up conceals. |
| Tap every body panel | A dull sound confirms filler or hidden rust that visual inspection misses. |
| Verify VIN and engine stamps | Matching numbers confirm authenticity and protect your investment value. |
| Plan a mid-drive stop | A 5-minute pause exposes heat soak and vapor lock restart failures. |
| Watch gauges continuously | Oil pressure drops and temperature creep are early signs of serious mechanical problems. |
What I've learned from years of watching buyers get it wrong
The biggest mistake I see buyers make is treating the test drive as a formality. They've already fallen in love with the car before they turn the key. That emotional attachment is the seller's greatest advantage and the buyer's greatest vulnerability.
The checklist approach works because it forces you to slow down and observe rather than react. Every item on the list exists because someone, somewhere, bought a car without checking that specific thing and paid for it later. The cold start rule exists because sellers absolutely do warm cars up before appointments. The tapping technique exists because paint and filler can make a rotted floor pan look showroom-fresh from three feet away.
What separates an experienced evaluator from a first-time buyer is not mechanical knowledge alone. It is patience. The ability to sit with the car running for five minutes before moving, to listen without touching the throttle, to feel the steering wheel at 60 mph without commentary from the seller in the passenger seat. Bring a trusted mechanic if you can. If you cannot, use the checklist as your second opinion.
Authenticity verification is where I see the most money lost. A numbers-matching muscle car is worth dramatically more than a clone or a tribute car. Sellers do not always disclose this distinction voluntarily. The engine stamp, the trim tag, and the broadcast sheet are not optional documents. They are the proof of value. Ask for them before you drive, not after.
— Tony
Butterclassics has your next classic ready to drive
Finding a classic car you can trust starts with knowing what to look for. Butterclassics takes that pressure off by offering certified classic vehicles with documented histories and expert-level inspection standards already built into every listing.
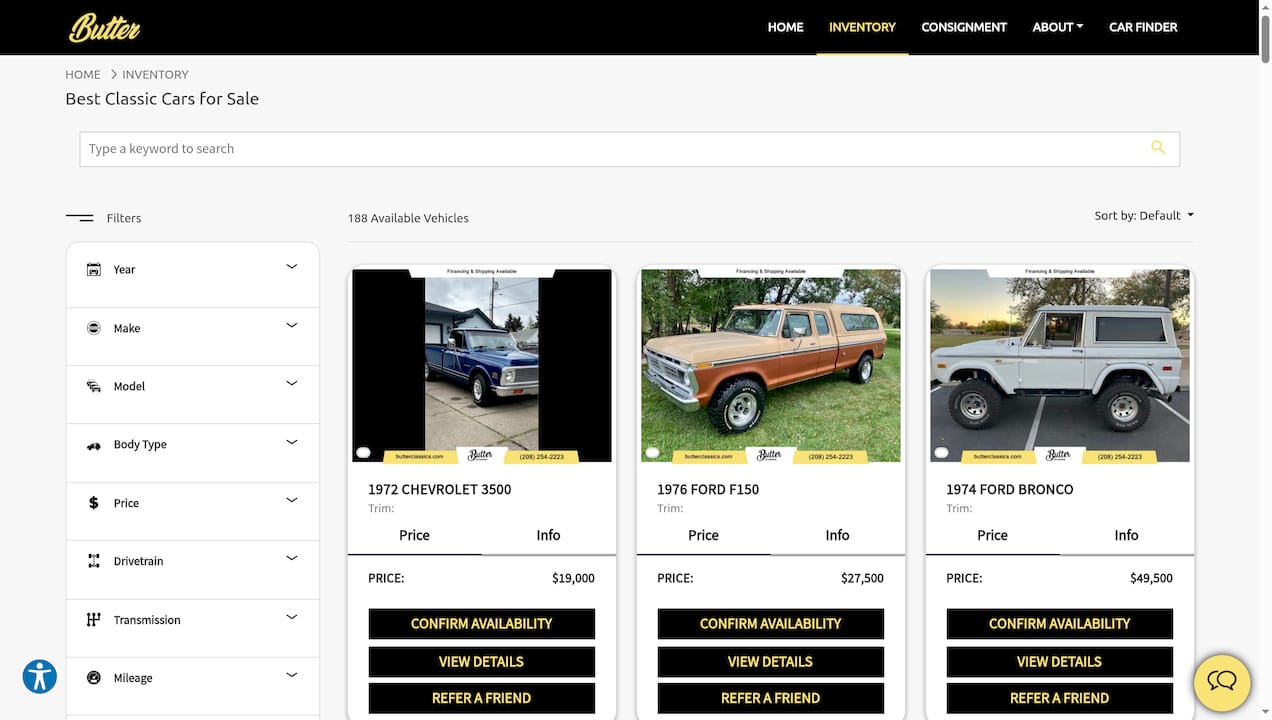
Every car in the Butterclassics inventory goes through a detailed review process so you know exactly what you are getting before you schedule a drive. For buyers who want the full picture on certification standards and what the inspection process covers, the Butter Certified program lays it all out clearly. Browse the inventory, get pre-qualified for financing, and find the classic that fits your standards, not just your wishlist.
FAQ
How long should a classic car test drive last?
A proper test drive for a classic car should last 30–60 minutes and include both city and highway driving. That duration is necessary to surface temperature instability, vibrations, and steering inconsistencies that short drives hide.
What does exhaust smoke color tell you during a test drive?
Blue smoke indicates oil burning, black smoke signals an overly rich fuel mixture, and constant white smoke points to coolant entering the combustion chamber. Each color identifies a different mechanical problem requiring attention before purchase.
Why does a cold start matter when test driving classic cars?
A cold start reveals hard-start problems, carburetor flooding, and coolant leaks that disappear once the engine reaches operating temperature. Always insist on a cold start before the test drive begins.
What is heat soak and why does it matter?
Heat soak occurs when a hot engine sitting still causes fuel to vaporize in the lines, preventing restart. A brief 5-minute stop during the test drive exposes this problem before you commit to buying.
How do you detect hidden rust or filler on a classic car body?
Tap body panels firmly with your knuckle and listen for a dull thud instead of a sharp metallic ring. Use a strong magnet on suspicious areas, since filler and fiberglass will not attract the magnet the way steel does.