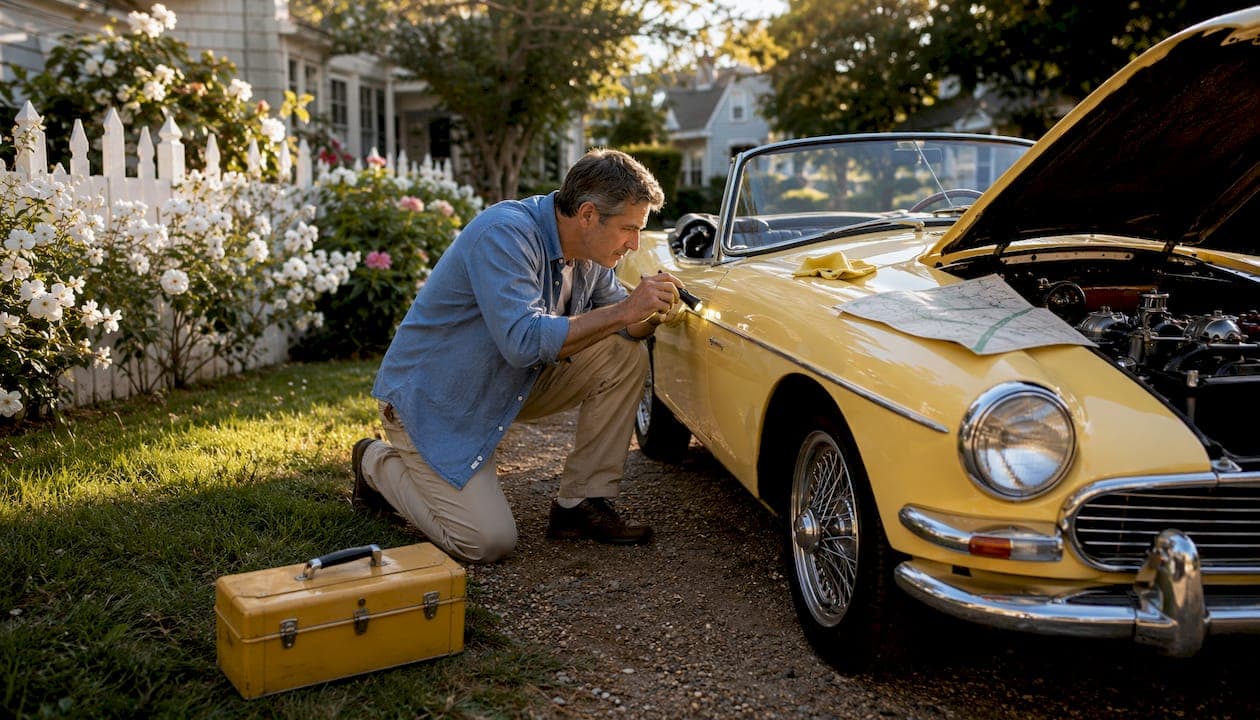
Solid classic car road trip planning comes down to four things done right: a mechanic-style inspection before you leave, a modular spares kit that fits in your trunk, a daily mileage target that respects your car's limits, and a mapped contingency plan with classic-specialist contacts along the route. Get those four right and you are set up for a trip that is smooth as butter. Skip any one of them and you are gambling with a car that cannot call on modern fail-safes. Here is what to do right now, before you book a single hotel room:
- Book a pre-trip service appointment with a mechanic who knows your make
- Test your battery resting voltage (target 12.6V or higher)
- Choose five model-specific spare parts and add them to a compact kit
- Map classic-capable shops along your intended route and save contacts offline
- Confirm your insurance covers roadside recovery and flatbed towing
- Set a daily mileage target before you finalize any overnight stops
Table of Contents
- What does a pre-trip mechanical checklist look like for a classic car?
- What spare parts and tools should you actually bring?
- How do you plan a route that works for a vintage car?
- How do you build a solid contingency plan before you leave?
- How do you manage the car during each driving day?
- Where should you stay, and how do you protect the car overnight?
- What does a realistic budget look like for a classic car road trip?
- What do three sample itineraries look like for a vintage car?
- What are the golden rules experienced vintage drivers swear by?
- Key Takeaways
- Why classic car trips demand a different mindset
- Useful resources for your vintage road trip
What does a pre-trip mechanical checklist look like for a classic car?
A 34-point inspection approach used by classic motorsports enthusiasts covers five core systems. The table below mirrors that structure and adds a priority tag so you know what to fix before departure versus what to monitor.
| System | Specific checks | Why it matters | Priority |
|---|---|---|---|
| Cooling | Radiator core, hoses, fan belt, coolant level and condition, radiator cap seal | Overheating is the top cause of roadside stops on hot days and mountain routes | Must-fix |
| Fuel | Tank, fuel lines, carburetor or injectors, fuel filter age | Vapor lock and fuel starvation are common on older systems in summer heat | Must-fix |
| Brakes | Pad/shoe thickness, fluid level and color, brake lines, master cylinder | Brake fade on a vintage system can be sudden and severe | Must-fix |
| Electrical | Battery resting voltage, terminals, alternator output, fuses, lights | Battery issues account for approximately 30% of classic-car breakdowns | Must-fix |
| Tires | Tread depth, sidewall cracks, inflation pressure, spare condition | Rubber hardens with age; a tire that looks fine can fail under sustained highway load | Must-fix |
| Driveline | Transmission fluid, differential fluid, U-joints, CV boots | Driveline noise that is tolerable around town gets worse over hundreds of miles | Check |
| Engine oil | Level, color, viscosity grade for ambient temps | Fresh oil before a long trip is cheap insurance against wear | Must-fix |
| Belts and hoses | Condition, tension, clamp tightness | Rubber degrades even on low-mileage cars; a split hose ends the day | Must-fix |
| Body and fasteners | Hood latches, trunk latch, door hinges, loose trim | A hood that opens at speed is a catastrophic safety event | Check |
| Paperwork | Title, registration, insurance card, roadside membership card | Getting stopped without documents adds stress you do not need | Must-fix |
When to defer the trip: if any must-fix item fails inspection and cannot be corrected before departure, postpone. A cracked radiator hose or a battery reading below 12.0V at rest is not a "monitor it" situation on a multi-day tour.
A full pre-trip service covering brakes, belts, tires, cooling, and a fresh oil change significantly cuts the chance of preventable failures. Schedule it two to three weeks before departure so any parts that need ordering do not eat into your travel window.
Pro Tip: Run a shakedown protocol before the big trip. Stepwise test drives of increasing distance (10 miles, then 30, then 60) in the two weeks before departure expose leaks, overheating trends, and vibration issues that a static inspection misses. Record your baseline coolant temp, oil pressure, and charging voltage on each run. Those numbers become your reference points on tour.
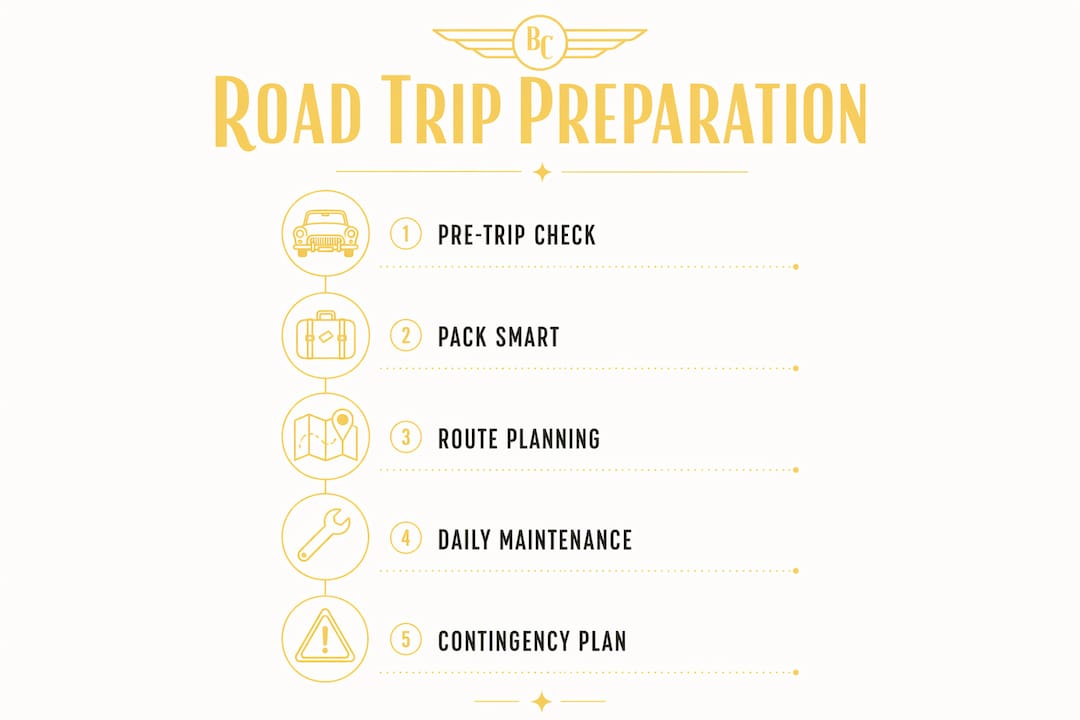
What spare parts and tools should you actually bring?
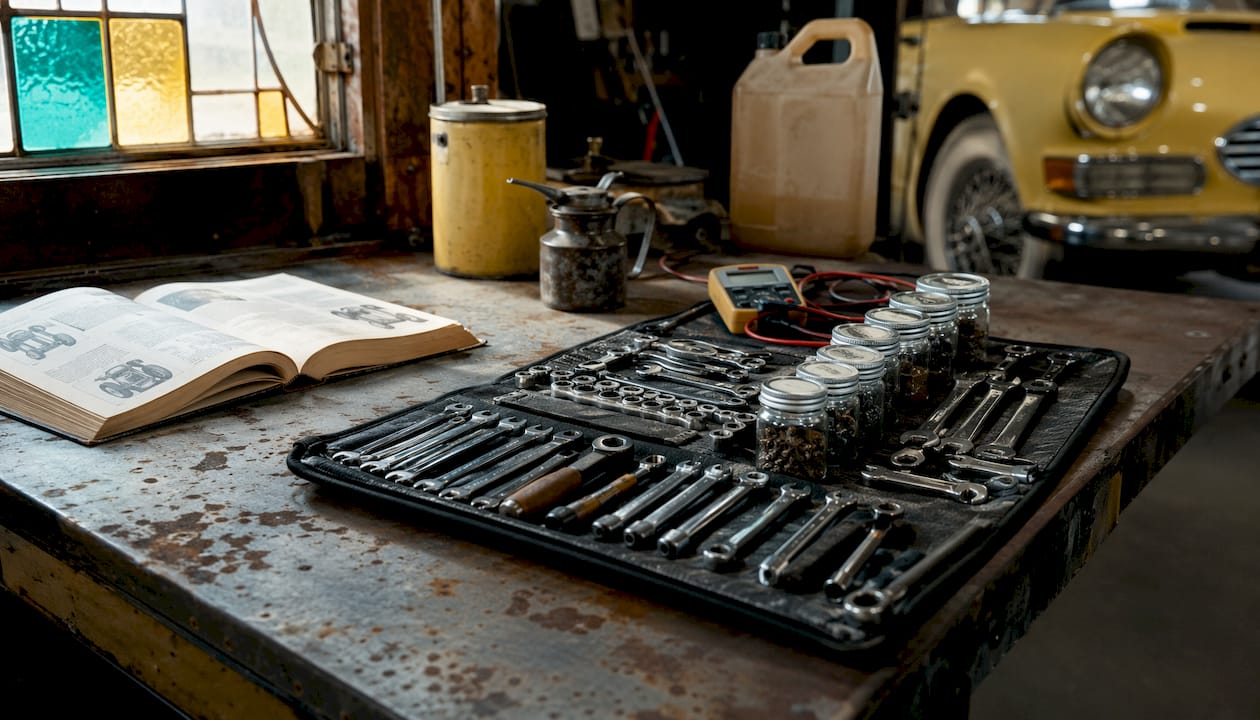
The veteran rule is pack smart, not deep. Overpacking adds weight, shifts your car's balance, and makes finding the right item harder when you are on the side of the road. A compact, well-organized tool roll beats a full shop chest every time.
| Category | Suggested items | Why | Size/weight tip |
|---|---|---|---|
| Electrical | Multimeter, spare fuses (correct amps for your car), 12-gauge wire, wire stripper, crimp tool, crimp connectors, electrical tape | Electrical gremlins are the hardest to diagnose without tools | Roll wire flat; store fuses in a labeled zip-lock bag |
| Drivetrain spares | Fan/alternator belt (model-specific), spare spark plugs, distributor cap and rotor | These are the parts most likely to strand you and hardest to source rurally | Wrap in a cloth to prevent rattling |
| Fluids | Engine oil (1 qt minimum), premixed coolant or distilled water, brake fluid | Levels drop on long runs; carrying your own avoids compatibility guesswork at rural stations | Use leak-proof bottles in a sealed bag; store low in the trunk |
| Tire and safety | Tire patch kit, portable compressor, wheel chocks, floor jack, jack stands | A scissor jack from an old spare kit is not something you want to trust on the roadside | Compressor doubles as a general utility item |
| Basic tools | Screwdriver set (including small ones for terminals), socket set (metric and SAE), adjustable wrench, locking pliers, breaker bar | You cannot fix what you cannot reach | Use a roll-up tool bag; keep it accessible, not buried under luggage |
| Safety and comfort | First aid kit, fire extinguisher, flashlight (not phone-dependent), shop gloves, shop glasses, shop towels | Safety first, always | Mount extinguisher within reach of the driver |
| Weather and field repairs | Racer's tape (duct tape), zip ties, mechanic's wire, ratchet straps, tarp | Temporary fixes that can get you to the next shop | Flat-pack; negligible weight |
Model-specific spares worth the space: if your car has a known weak point (a specific carburetor needle, a proprietary voltage regulator, a hard-to-find sending unit), bring one. Generic parts stores in small towns will not have it. Understanding which components are rare for your model is worth reviewing before you pack. Certain limited-edition and low-production vehicles have parts availability that varies dramatically by region.
Fluids storage: keep oil and coolant in sealed, upright bottles inside a zip-lock bag or a small plastic tote. Place them on the passenger-side floor or in a corner of the trunk, not loose. Weight distribution matters more in a vintage car than in a modern one with computer-managed suspension.
Pro Tip: Organize your tool kit by task, not by tool type. Group "electrical repair" items together, "fluid top-up" items together, and "tire" items together. When something goes wrong, you grab one pouch and go, not rummage through a pile.
How do you plan a route that works for a vintage car?
Daily mileage is the single biggest planning variable for a vintage road trip. Experienced drivers recommend moderate daily distances on good roads and shorter distances on mountain or challenging routes. Those numbers are not arbitrary. They account for the stop frequency a vintage cooling system needs, the concentration required to drive a car without modern driver aids, and the time you actually want to spend enjoying the scenery.
Building stops into the route
Plan a stop every 60–90 minutes or roughly every 60 miles, whichever comes first. At each stop, give the engine five minutes to idle down before you shut it off (this prevents heat soak in the cooling system), then do a quick walk-around. On mountain routes, factor in the added thermal load of sustained climbing. A car that runs perfectly on flat highway can overheat on a 6% grade in 95°F heat.

Route elevation and ambient temperature are the two variables most classic-car planners underestimate. If your route crosses a significant mountain pass, check the elevation profile and the forecast high temperature for the day you plan to cross. A morning crossing is almost always safer than an afternoon one.
Navigation for older cars
Offline maps are your best friend. Download your full route to a mapping app before you leave cell coverage. Export the route as a GPX or KMZ file and share it with someone at home who knows your itinerary. Paper backup is not overkill. A printed turn-by-turn for each day's leg costs nothing and works when your phone dies.
Route planning checklist:
- Confirm fuel availability every 50–80 miles along each leg (rural stretches can surprise you)
- Identify at least one classic-capable shop per 150-mile segment
- Note elevation changes and plan mountain crossings for cooler parts of the day
- Build 30–45 minutes of buffer into each day's schedule for unplanned stops
- Share the full itinerary, including overnight addresses, with a contact at home
How do you build a solid contingency plan before you leave?
The golden rule: map classic-specialist shops before you leave, not after something goes wrong. Generic service centers often lack the parts, the experience, or the lift clearance to handle a vintage car properly. A little research before departure saves a lot of stress on the road.
Steps to take immediately after a breakdown
- Get safely off the road. Pull completely onto the shoulder or into a parking lot. Turn on hazard lights.
- Do not restart the engine if you suspect overheating, a fluid leak, or an electrical fault. Assess first.
- Take photos of any visible damage, fluid puddles, or warning indicators before touching anything.
- Call your roadside assistance provider and specify that you need a flatbed tow. Flatbed towing is the safest method for a classic car; some tow operators lack the equipment or experience to handle low-clearance vintage vehicles on a wheel-lift.
- Contact your nearest pre-researched classic shop and describe the symptoms before the tow arrives. They may be able to advise on whether a local repair is possible.
- Notify your emergency contact with your location and situation.
Building your contact card
Keep a printed card in the glove box with the following:
- Your insurer's claims line and policy number
- Your roadside assistance membership number and the correct phone number for the region
- Names and phone numbers of two classic-specialist shops per major leg of the route
- A local towing company number for each overnight stop (not just the national dispatch line)
- Your emergency contact's name and number
Sourcing parts on the road
Local salvage yards can be surprisingly useful for common American makes. For rarer or imported vehicles, specialty online suppliers like Restoration Hardware or marque-specific vendors can ship overnight to a shop address. Pre-authorizing a parts shipment to a shop you have already called is far faster than trying to arrange it after the fact.
Pro Tip: Before you leave, call two or three classic shops along your route and introduce yourself. Tell them your make, model, and travel dates. A shop that knows you are coming is far more likely to prioritize your car if you call in a crisis.
How do you manage the car during each driving day?
Active monitoring is what separates a driver who catches a problem early from one who gets towed. Your gauges are telling you something all day long. The habit of glancing at coolant temperature and oil pressure every few minutes takes about two seconds and can save your engine.
Watch for these in-day warning signs: coolant temp creeping above your established baseline, oil pressure dropping below normal, any new sound (ticking, knocking, or a rhythmic squeal), and any smell of burning rubber, hot oil, or fuel vapor. If you notice any of these, pull over at the next safe opportunity. Do not wait for the next scheduled stop.
At every stop: the quick walk-around
When you park, walk around the car before you walk away from it. Check for fluid drips under the engine and transmission, feel the brake rotors or drums for unusual heat, and press on each tire sidewall to get a rough sense of pressure. It takes 90 seconds and catches things you would not notice from the driver's seat.
Fueling at rural pumps
Older carbureted engines can be sensitive to ethanol content. Where possible, choose non-ethanol fuel or the lowest ethanol blend available. If you are running an older rubber fuel system, high-ethanol blends accelerate degradation of seals and hoses. Keep a note of your car's fuel preference and check pump labels before you fill.
Pro Tip: If your temperature gauge starts climbing toward the danger zone, turn the heater on full blast with the fan at maximum. It sounds counterintuitive, but the heater core acts as a secondary radiator and can pull enough heat from the coolant to buy you time to reach a safe stopping point. Pull over as soon as you safely can, let the engine idle (do not shut it off immediately), and check coolant level only after the engine has cooled.
Where should you stay, and how do you protect the car overnight?
Covered parking is not a luxury for a classic car owner. It is a planning requirement. Sun, rain, and overnight dew all affect paint, rubber seals, and convertible tops in ways that add up over a multi-day trip. When you book lodging, ask directly: "Do you have a covered garage or carport?" and "Is valet parking optional?" Many hotels with valet-only policies will accommodate a self-park request if you ask in advance.
Lodging checklist for classic car travelers:
- Confirm covered or enclosed parking before booking, not at check-in
- Ask whether the hotel uses valet-only service and request an exception in writing if needed
- Choose ground-floor or easy-access parking when possible to minimize maneuvering by staff
- Avoid parking structures with tight turns or low clearances that could scratch wide body cars
- At motels or roadside inns, park where you can see the car from your room window
Nightly security routine
Remove any valuables from the interior. Use a steering wheel lock or a hidden kill switch if your car has one. A breathable car cover adds a layer of both weather protection and visual deterrence. Wheel locks are worth the small added weight for high-value vehicles. Leave a written card in the glove box with your name, cell number, and a note asking staff not to move the car without calling you first.
Pro Tip: When you check in, walk the parking attendant to your car and show them the cover, the steering lock, and the note. A 60-second conversation is worth more than any written policy. Staff who have met you personally treat the car differently than one they have never seen the owner of.
What does a realistic budget look like for a classic car road trip?
Budget surprises on a vintage road trip are almost always in the towing and parts categories, not fuel or lodging. Plan for those first.
| Line item | Conservative (3-day) | Typical (5-day) | High-risk scenario |
|---|---|---|---|
| Fuel | $80–$120 | $150–$220 | $200 |
| Lodging | $150–$250 | $300 | $400 |
| Food | — | $150–$250 | $150–$250 |
| Parts and consumables | $50–$100 | $100–$200 | $300 |
| Emergency towing (flatbed) | — | — | $300 |
| Incidentals | $50 | — | $100–$200 |
The variables that move the needle most are fuel consumption (older V8s can run 10–15 mpg), parts rarity (a common Ford or Chevy part is a phone call away; a rare European or limited-production part may require overnight shipping), and distance to a classic-capable shop when something goes wrong.
Contingency fund guidance: set aside at least 20% of your total trip budget as a contingency reserve before you leave. If you do not use it, great. If you do, you will be glad it was there and not already spent on a nicer hotel.
What do three sample itineraries look like for a vintage car?
These templates are starting points. Adjust daily mileage down for mountain terrain, high heat, or a car you have not fully shaken down yet.
3-day scenic loop
Best for: a first vintage road trip or a car you are still learning.
- Day 1: 150 miles. Two fuel/check stops. Overnight with covered parking confirmed in advance.
- Day 2: 180 miles. Three stops including a midday break of 45 minutes. Overnight at same or similar lodging type.
- Day 3: 120 miles back to origin. One fuel stop. Arrive by early afternoon.
Contingency margin: 30 miles per day undriven. One rest day built in if needed.
5-day mixed route
Best for: owners with a well-sorted car and one or two previous road trips under their belt.
- Day 1: 200 miles. Highway and two-lane mix. Two stops.
- Day 2: 180 miles. Scenic backroads. Three stops. Shorter day to allow exploration.
- Day 3: 220 miles. Longest leg. Three stops. Midday check at a shop if one is on route.
- Day 4: 160 miles. Mountain or varied terrain. Reduce speed and increase stop frequency.
- Day 5: 150 miles. Return leg. Easy pace, early finish.
Contingency margin: one full rest day available between Day 3 and Day 4 if the car needs attention.
7-day long-distance run
Best for: experienced vintage drivers with a fully serviced car and a complete contingency plan.
- Day 1: 200 miles. Shakedown leg. Note any new sounds or gauge behavior.
- Day 2: 230 miles. Highway cruise. Two stops.
- Day 3: 200 miles. Mixed terrain.
- Day 4: Rest day or 100-mile exploration day. Use this to check fluids, tire pressure, and any developing issues.
- Day 5: 220 miles. Longest push. Three stops.
- Day 6: 200 miles. Begin return arc.
- Day 7: 150 miles. Easy finish.
Contingency margin: Day 4 is a built-in buffer. If the car needs a shop visit, this is the day.
| Template | Daily miles (avg) | Est. drive time/day | Mechanical checks/day |
|---|---|---|---|
| 3-day loop | 150 | 3–4 hrs | 2 |
| 5-day mixed | — | 4–5 hrs | 2–3 |
| 7-day long-distance | 200 | 4–5 hrs | 3 |
For mountain terrain, reduce each daily mileage figure by 20–25% and add one extra check stop per day.
What are the golden rules experienced vintage drivers swear by?
These are the rules that separate a trip that finishes on its own wheels from one that ends on a flatbed.
- Run shakedowns, not assumptions. A car that "runs fine" around town has not been tested at highway speed for four hours in 90°F heat. Do the stepwise test drives.
- Battery first, always. Battery problems account for approximately 30% of classic-car breakdowns. Test resting voltage, load-test if possible, and carry a compact jump-start pack.
- Flatbed only. Never let a tow operator hook your classic to a wheel-lift without your explicit approval. Specify flatbed in your roadside membership and repeat it when you call.
- Pack targeted, not everything. A modular kit you can navigate in the dark beats a trunk full of parts you cannot find.
- Know your baseline. Record coolant temp, oil pressure, and charging voltage during shakedowns. On tour, any reading that drifts from baseline is an early warning.
- Plan for heat and altitude. Both stress cooling systems in ways flat, mild-weather driving does not. Adjust mileage and stop frequency accordingly.
- Map your support before you need it. Classic-capable shops, parts suppliers, and tow operators should be in your phone before you leave the driveway.
- Give the car time to cool. After a hard run, idle for three to five minutes before shutting off. Heat soak after a hot shutdown is a real cause of vapor lock and coolant boil-over.
Quick "what to do if X happens" guide
Battery won't start: connect your jump-start pack, wait 60 seconds, then try. If it starts, drive to the nearest shop. Do not shut the engine off until you get there.
Ignition failure: check the fuse for the ignition circuit first, then the coil wire connection, then the distributor cap. A spare cap and rotor in your kit covers the most common cause.
Overheating: pull over safely, let the engine idle (do not shut it off immediately), turn the heater on full blast, and wait for the temp to drop before checking coolant. Never open a hot radiator cap.
Shakedown test checklist
- Drive 1: 10 miles, local roads. Check for leaks, unusual sounds, gauge behavior.
- Drive 2: 30 miles, highway speed. Note temperature plateau and oil pressure at cruise.
- Drive 3: 60 miles, mixed. Simulate a road-trip leg. Record all gauge readings at the end.
- After each drive: check under the car for new drips and inspect hose clamps and belt tension.
Pro Tip: Bring a small notebook dedicated to the car. Log gauge readings, fuel consumption, and any observations from each shakedown run and each day on tour. Patterns that would be invisible in memory become obvious on paper.
Key Takeaways
A well-prepared classic car road trip comes down to mechanical readiness, a modular spares kit, conservative daily mileage of 200–250 miles on good roads, and a mapped contingency plan with classic-specialist contacts saved before you leave.
| Point | Details |
|---|---|
| Pre-trip service is non-negotiable | Book a full service covering brakes, belts, tires, cooling, and oil before departure. |
| Battery is a common failure point; test resting voltage and carry a compact jump-start pack on every trip. | |
| Daily mileage: 200–250 miles max | Reduce to around 150 miles on mountain or challenging routes; stop every 60–90 minutes. |
| Modular kit beats overpacking | A compact, task-organized tool roll and targeted spares outperform a disorganized trunk full of parts. |
| Map your contingency before you go | Save classic-specialist shop contacts and flatbed tow numbers offline before departure. |
Why classic car trips demand a different mindset
Driving a vintage car on a multi-day road trip puts you in the role of operator, not just passenger. You are reading gauges, listening to the engine, and making real-time decisions that a modern car's computers would handle automatically. That is not a burden. It is the whole point.
The preparation this guide walks you through is not just risk management. It is what makes the trip genuinely yours. When you know your car's baseline temperature, when you have already run the shakedown drives, when you have the right contacts saved and the right spares packed, you drive differently. You drive with confidence. The open road feels like it belongs to you and your car in a way that no modern vehicle can replicate.
The practical steps and the emotional payoff are the same thing. Do the work before you leave, and the miles take care of themselves.
Useful resources for your vintage road trip
These are the sources worth bookmarking before you finalize your plans.
| Resource | What it offers | When to use it |
|---|---|---|
| Classic Motorsports 34-point checklist | Multi-system inspection framework covering brakes, suspension, electrics, and engine | Pre-trip inspection planning |
| Pavement Pounder Events packing list | Detailed tool and spares packing list from a real Power Tour build | Assembling your tool roll and spares kit |
| Euro Car Trips preparation guide | Daily mileage guidance, modular packing advice, and cooling-system tips | Route planning and packing decisions |
| The Travel Pocket Guide classic car tips | Battery health, flatbed towing guidance, and contingency planning | Contingency plan and battery prep |
| White's Bodyworks summer prep guide | Pre-trip servicing checklist and timing advice | Scheduling your pre-trip service |
| Butterclassics classic car test drive checklist | Inspection items and baseline checks for shakedown runs | Pre-trip mechanical validation |
| Butterclassics dealer inspection guide | Priority inspection items for professional pre-trip checks | Knowing what to ask your mechanic |
| Butterclassics transport guide | When to transport vs. drive; contingency transport options | Contingency planning for high-value vehicles |
| Barn find value guide | Parts availability context for collector vehicles by region | Sourcing parts and understanding regional availability |
Ready to find the classic car worth taking on the road? Browse the Butterclassics inventory to explore a curated selection of vintage vehicles, or check out Butter Certified listings for cars that have already passed a rigorous vetting process.